TRIANGLES TECHNIQUE TUTORIAL: Half Square Triangles and Half Rectangle Triangles
Triangles, specifically half square triangles (HSTs) and half rectangle triangles (HRTs), are one of the most versatile shapes to use in your quilts. There are endless combinations, patterns, and designs that can be created from triangles alone. When you learn the technique for making HSTs and HRTs, it’ll be hard to get bored with them because of how much you can do!
Working through the projects in this tutorial and in Simple Geometric Quilting, you’ll learn the techniques for making HSTs and HRTs, along with how to assemble them into a cohesive quilt, pillow, or wall hanging. I also share a few tricks of the trade to work more efficiently and piece more accurately, and I even let you in on a few design secrets ;)
Half square triangles and half rectangles are simple shapes with a lot of versatility.
Half Square Triangles (aka HSTs)
The easiest and most efficient way I’ve found to make HSTs is the two-at-a-time method, where you make two HSTs at once from two squares of fabric.
The general rule for determining the size of the squares you start with is to take your finished HST dimensions (without seam allowance included) and add ⅞”. To make sure I have enough wiggle room, I like to add 1” and trim my HSTs down. So if you want your finished HSTs to be 3” x 3” (or 3 ½” x 3 ½” including seam allowance), I’d cut two 4” x 4”squares.
Start by marking a crease diagonally from corner to corner on one of your squares. Then place that square directly on top of the second square, lining up the edges and pinning on either side of the crease.
Place one square on top of the other.
Sew down the left side of the crease with a ¼” seam allowance, using the right edge of your presser foot as a guide. Once you reach the end of the square, flip the square around to sew along the opposite side side of the crease with a ¼” seam allowance.
Sew 1/4” to the left of the center crease.
When the square has been sewn on both sides of the crease, use your ruler and rotary cutter to cut along the crease, separating your squares into two individual pieces. Unfold each HST, press the seams open, and trim both squares down to 3 ½” x 3 ½”.
TIP: If you’re making many HSTs, try chain piecing! After you sew the first side of your first squares, instead of flipping it around to sew along the opposite side, just begin sewing the next squares along the same side without breaking your thread. Continue until all your squares are sewn on the same side. This creates a “chain” of squares all connected by the same thread. Once you get to the end, turn your chain of squares around and sew along the other side of the crease, repeating for the rest of them. When you’re finished, snip the threads connecting each square and stack neatly.
Cut along the crease.
Half Rectangle Triangles (HRTs)
Making half rectangle triangles a bit different than making HSTs - I learned the hard way that if you try making them the same way, you’ll end up with two kite-shaped blocks.
To determine the dimensions of you starting rectangles, I add ¼” to the width of my block including seam allowance and ½” to the length of my block including seam allowance.
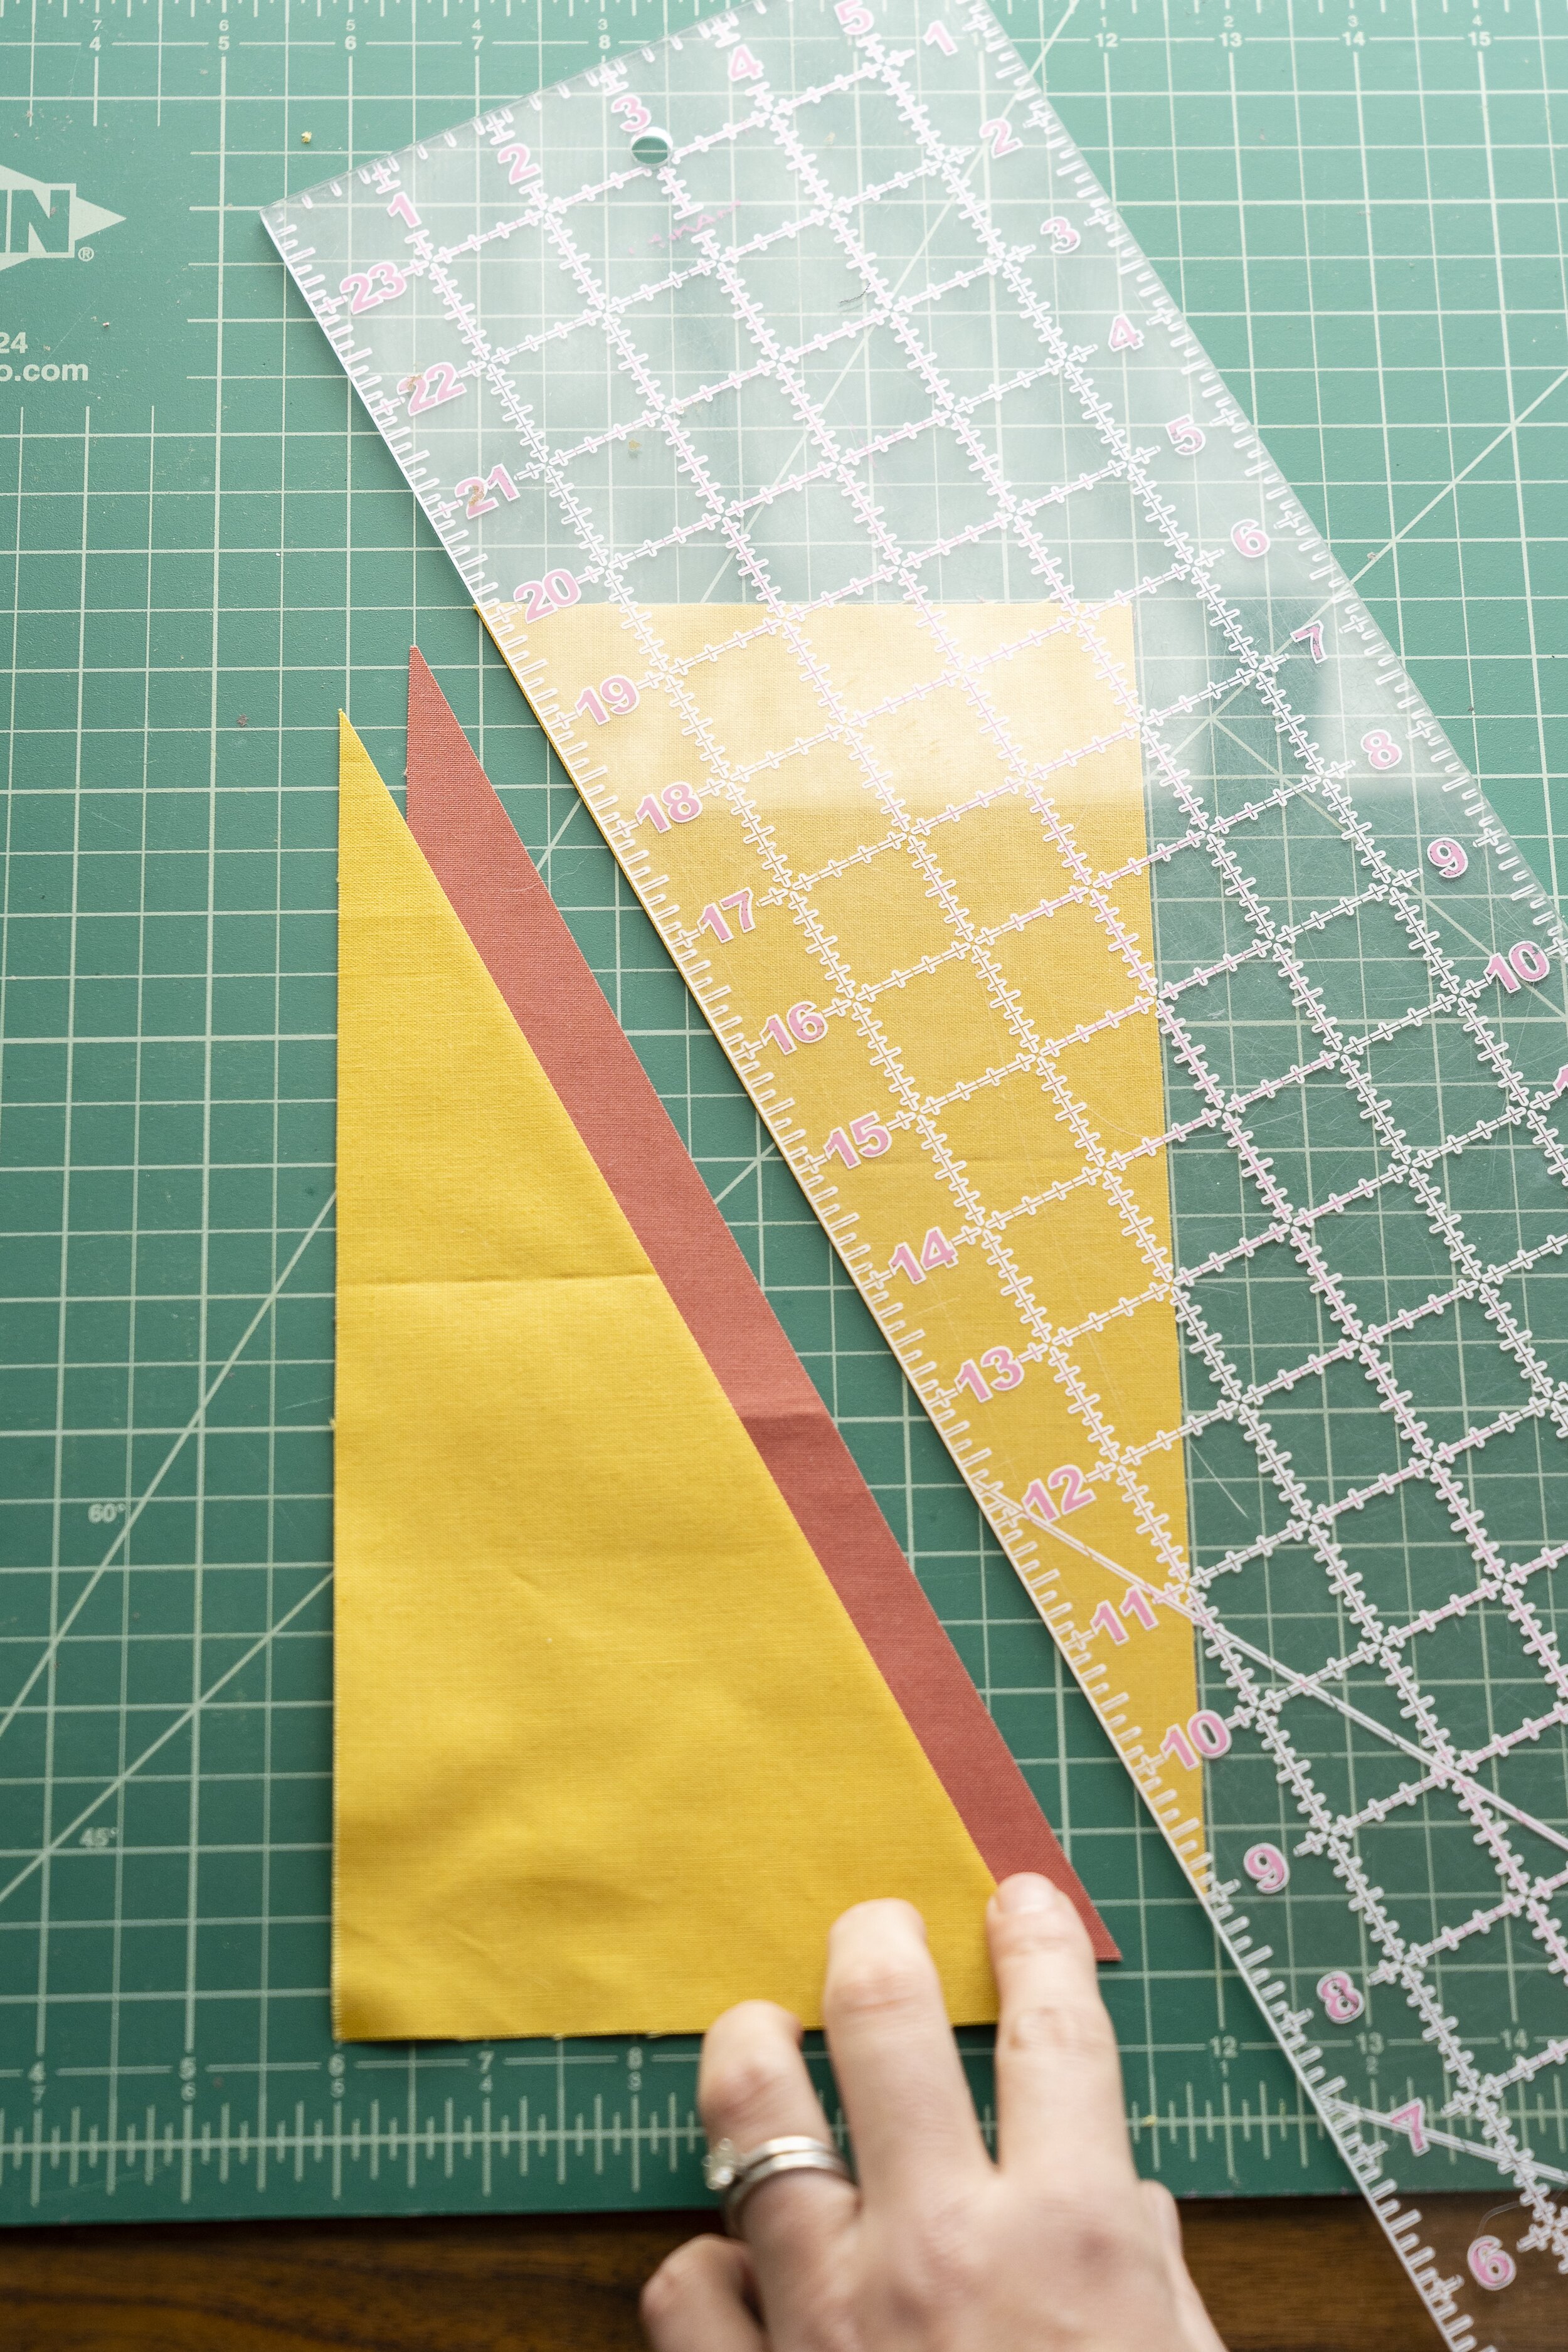
Stack the rectangles and cut diagonally.
Start by stacking your two rectangles and cut both diagonally from top left corner to bottom right corner. Keep in mind that, unlike HSTs that can be rotated any way, the diagonal you cut on can only be rotated two ways. You’ll end up with four triangles.
Sew the HRT’s down the longest edge.
Then place one triangle from each rectangle on top of one together with right sides facing and the skinny points overlapping by ¼”, lining up the longest edge. Sew them together along the long edge with a ¼” seam allowance and press the seam open. Trim your HRT down to the proper dimensions.
NOTE: It’s important to trim all your HSTs and HRTs so they’re identical and the corners are perfectly squared. This will ensure your points and seams line up when you’re piecing.


